

近年,越來越多人應用機器學習 (Machine Learning) 演算法,以解決問題或執行複雜的功能。利用機器學習,我們可以使用大數據來執行複雜的功能,例如圖像分類與語音辨識。
此外,Apple 最近公佈了一個框架 Core ML,以簡化將機器學習模型整合在 macOS 、 iOS 、 tvOS 與 watchOS 裝置上的程序。Apple 也提供了 Code ML 模型樣板來測試這個框架。
首次公佈 Core ML 時,軟體開發者要建立自己的 Core ML 模型是挺困難的,因為開發者需要先具備機器學習的經驗。
然而,感謝 GraphLab 和 Apple,現在我們有了 Turi Create,一個讓我們可以很簡單地建立 Core ML 模型的框架。Turi Create 提供必須的機器學習演算法例如 K-nearest neighbor (KNN),和進階的深度學習演算法如 Residual Networks (ResNet),以協助我們建立自己的機器學習模型。
在本教學中,我們會示範如何建立一個自訂圖像分類 Core ML 模型,並將它整合至一個 iOS 應用程式中。過程中我們會用到 Python 2.7 、 Turi Create 、 Swift 4.0 、和 Core ML。
在開始前,我們需要:
- 一台具有 64-bit 處理器 (x86_64 架構) 的電腦
- Python 2.7 版本:https://www.python.org/downloads/release/python-2714/
目前 Turi Create 只能支援 Python 2.7
教學開始
首先,我們要利用 Python package manager pip 來安裝 Turi Create。在你安裝 Python 時,這個 Package manager 會同時安裝在你的電腦內。
要安裝 Turi Create,請開啟 Terminal.app,並輸入下列指令:
$ pip install turicreate
安裝好 Python package 後,我們將以下列步驟來建立一個新的 Python 專案:
- 建立一個資料夾,命名為 `MLClassifier`
- 開啟 Xcode,建立一個新檔案
- 從任何裝置下選擇一個空白 (Empty) 檔案
- 將檔案命名為 `classifier.py`
- 將檔案儲存到 `MLClassifier` 資料夾


建立 DataSet
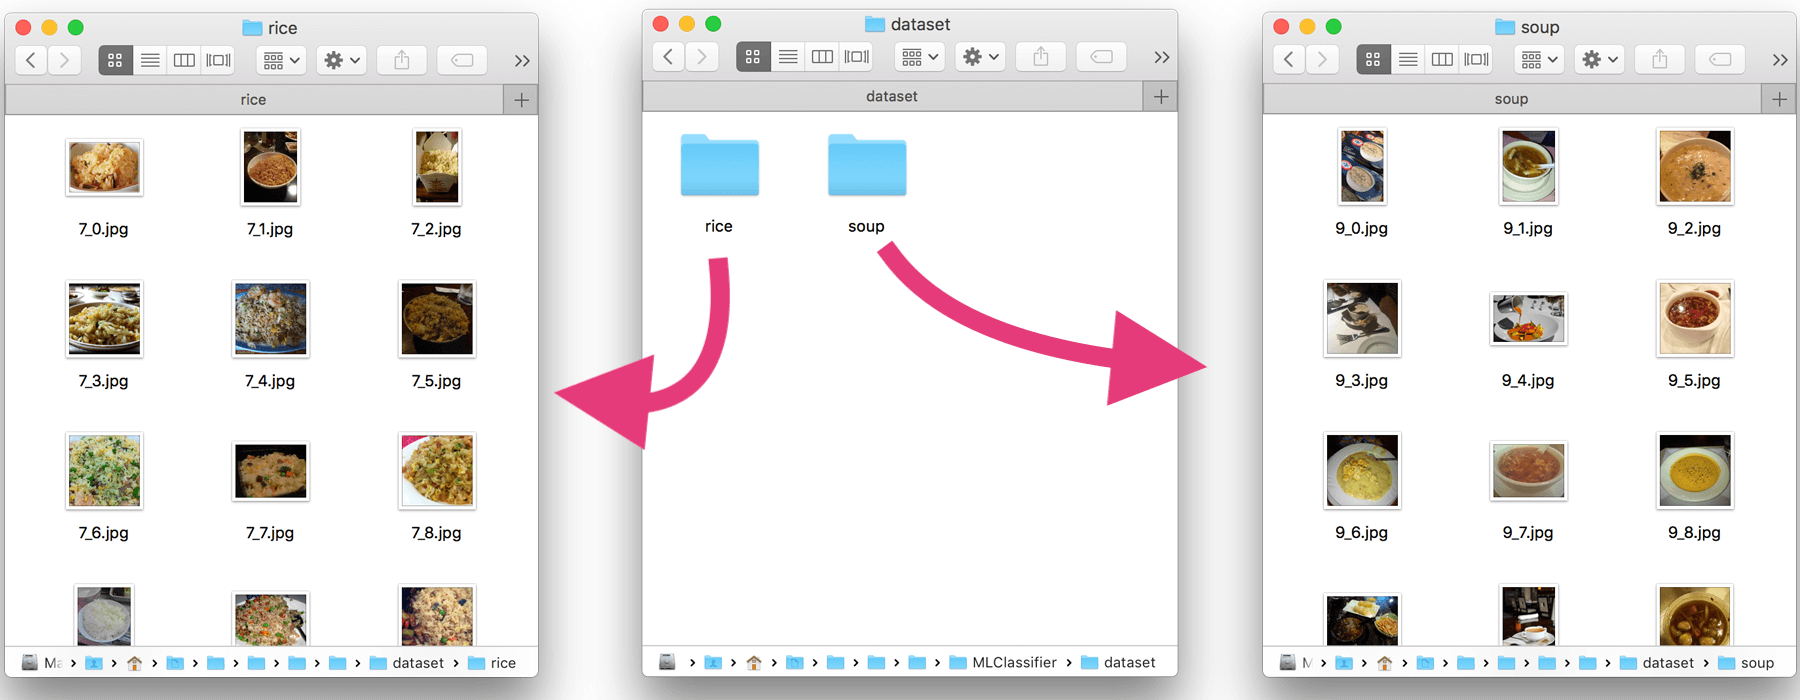
在這個範例中,我們將建立一個機器學習模型,以飯和湯兩個類別來分類圖片。所以,我們需要建立一個有這兩類圖片 Dataset。這個 Dataset 是用來訓練模型的,你可以下載我正在用的 Dataset,並儲存到MLClassifier資料夾,或是依照下列步驟建立自己的 Dataset:
- 在 `MLClassifier` 資料夾內,建立一個新資料夾 `dataset`。
- 在 `dataset` 資料夾內,建立兩個新資料夾,分別命名為 `rice` 和 `soup`。
- 在 `rice` 資料夾內,增加至少 100 張飯的圖片。
- 在 `soup` 資料夾內,增加至少 100 張湯的圖片。
你的 dataset 資料夾應該像這樣:
實作 Turi Create
Turi Create 簡化了開發自訂機器學習模型的過程。你不需要機器學習的經驗,都可以為你的 App 增加建議 (Recommendations) 、物件偵測 (Object detection) 、圖像分類 (Image classification) 、圖像相似度 (Image similarity) 、或是活動分類 (Activity classification) 等功能。
- Turi Create 官方文件 (https://github.com/apple/turicreate)
現在,我們將 turicreate 嵌入到 Python 專案,並標註剛剛建立的 Dataset 內每張圖片。跟著以下的步驟來實作與設定這個框架:
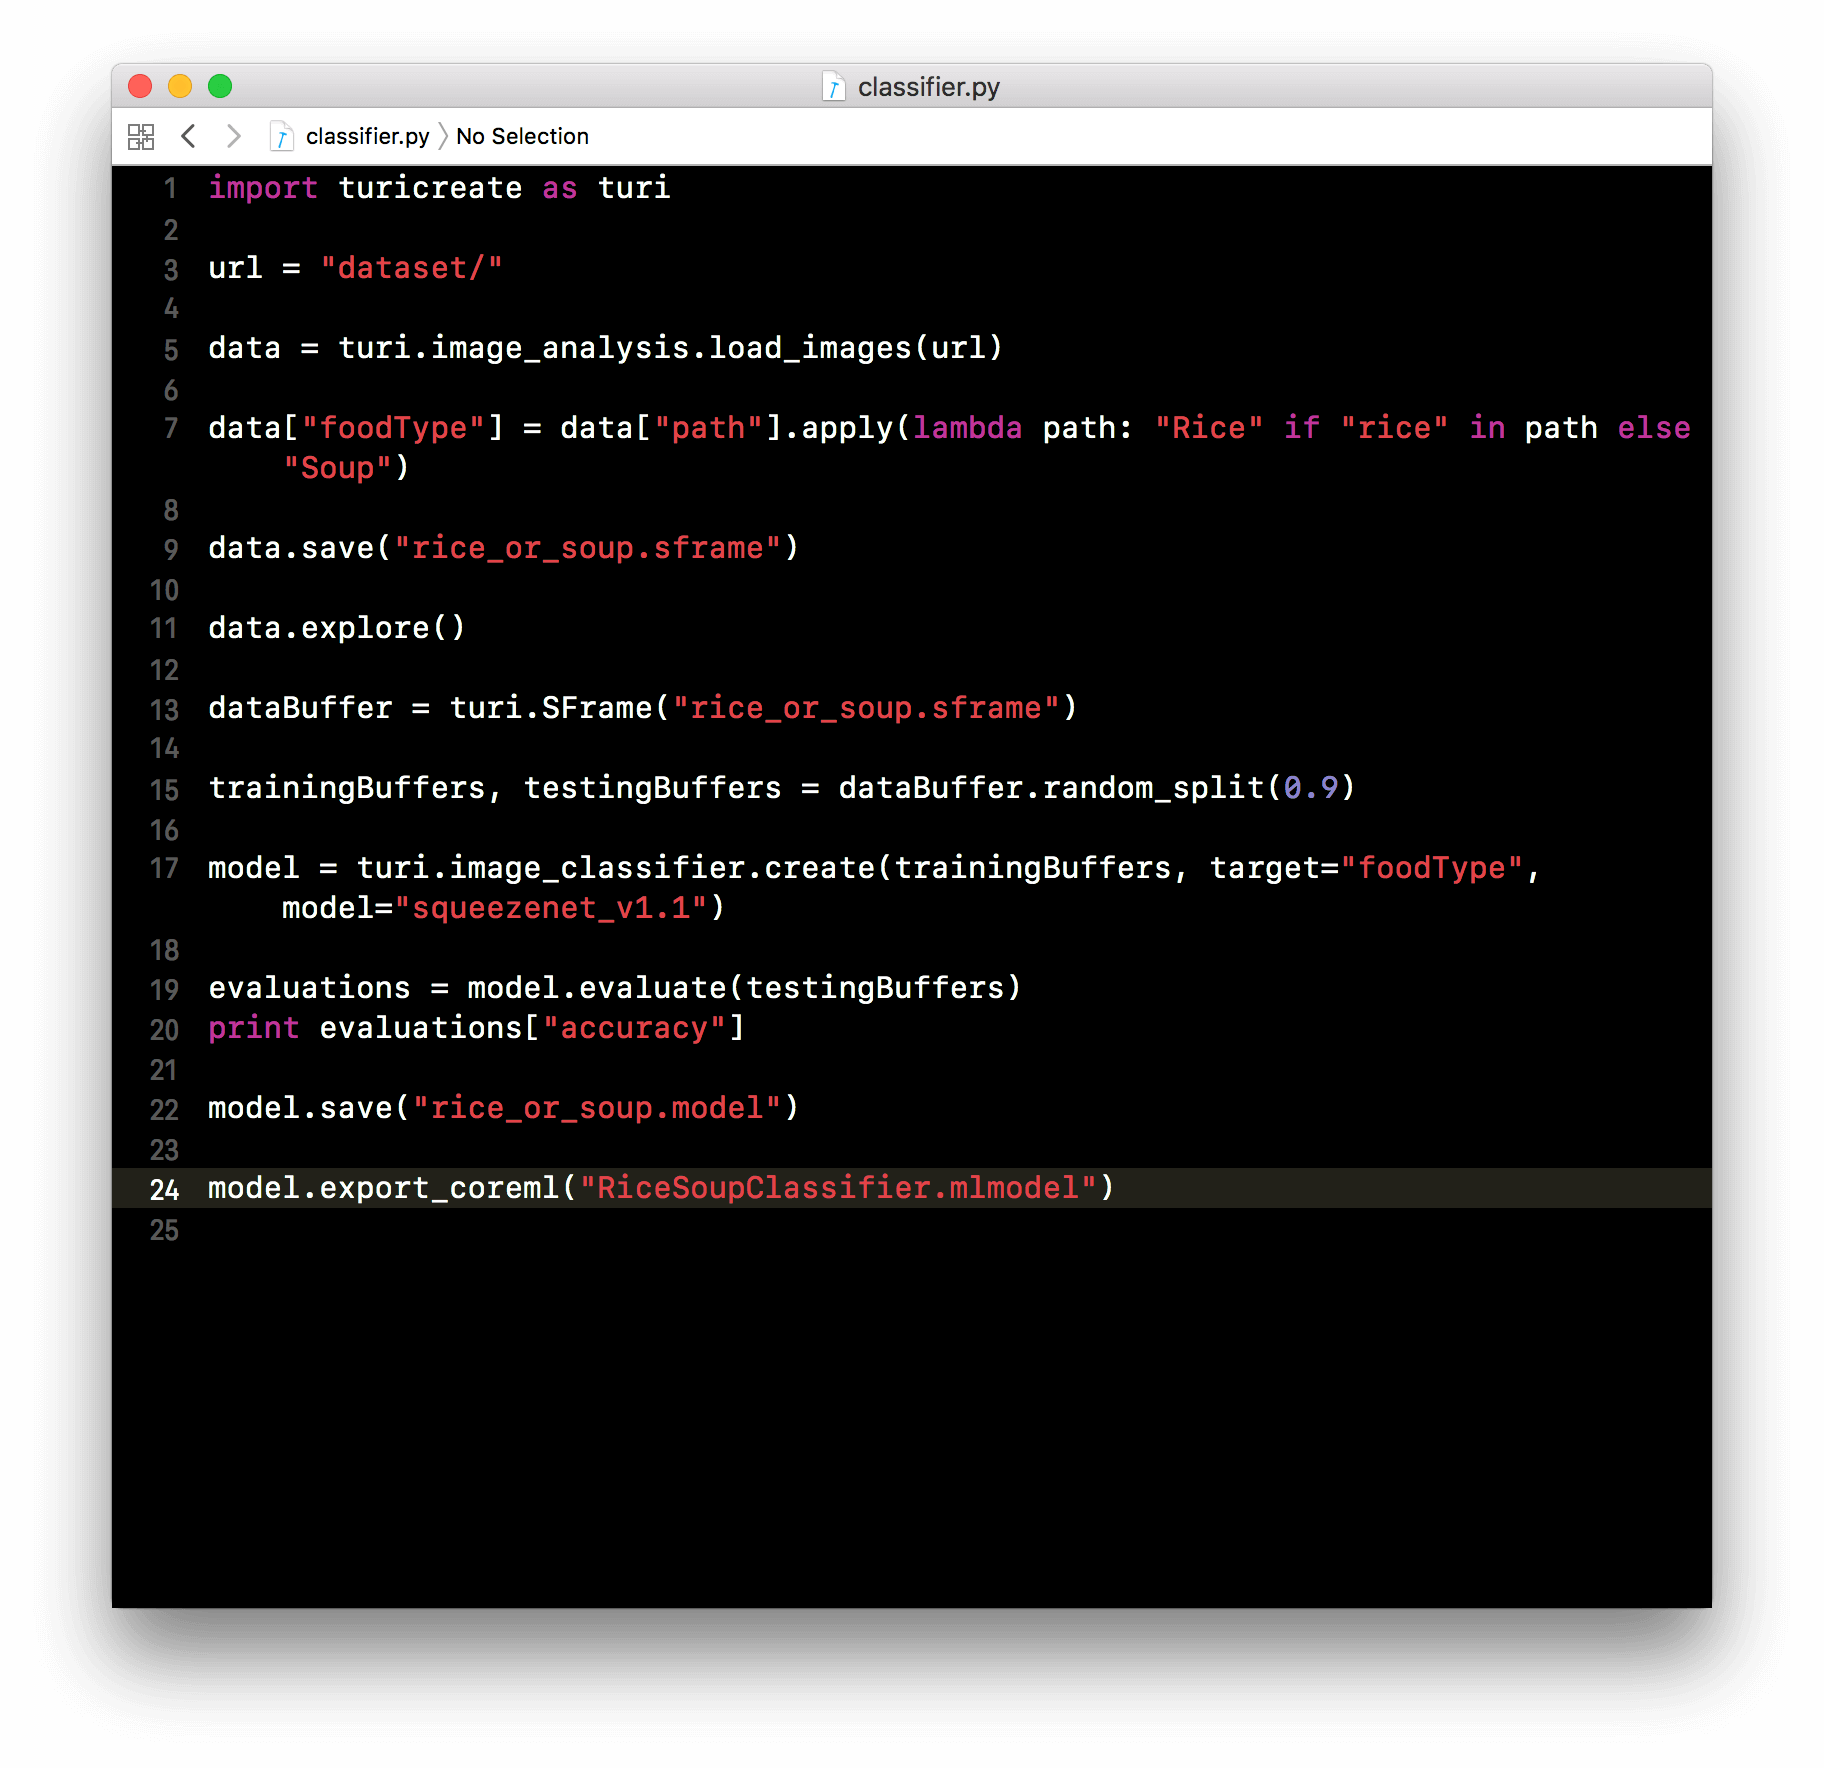
- 打開 `classifier.py` 檔案,並加入下列指令來匯入 `turicreate`:
- 設定 Dataset 的路徑:
- 然後,加入下列指令來讀取 Dataset 資料夾的圖像:
- 繼續加入下列程式碼,以根據同一個資料夾路徑來定義圖像類別:
- 最後,將新標註好的 Dataset 儲存為 `rice_or_soup.sframe`,我們將使用它來訓練模型:
- 在 Turi Create 預覽新標籤的 Dataset:
import turicreate as turi
url = "dataset/"
data = turi.image_analysis.load_images(url)
data["foodType"] = data["path"].apply(lambda path: "Rice" if "rice" in path else "Soup")
> 圖像分類的目標,就是要將一個圖像分類到某個預先設定的標籤。
data.save("rice_or_soup.sframe")
data.explore()
訓練並輸出機器學習模型
是時候訓練並輸出機器學習模型來使用了!
我們將使用 turicreate 提供的其中一個架構 SqueezeNet 來訓練機器學習模型。
使用 SqueezeNet,是因為它不需要太多時間來訓練;然而,若要取得更準確的結果,我建議用 ResNet-50。接下來的實作步驟,兩種架構都適用:
- 在 `classifier.py` 檔案內,讀取之前儲存了的 `rice_or_soup.sframe`。請在檔案加入下列程式碼:
- 接著,我們剛設定的 `dataBuffer` 物件 90% 設為訓練 Data,剩下的 10% 為測試 Data:
- 繼續插入下列程式碼,使用訓練 Data 和 `SqueezeNet` 架構建立圖片分類功能:
- 接著,我們利用測試 Data 來評估模型的準確度:
- 最後,插入下列程式碼來儲存模型,並輸出圖像分類模型為 CoreML 模型:
dataBuffer = turi.SFrame("rice_or_soup.sframe")
trainingBuffers, testingBuffers = dataBuffer.random_split(0.9)
model = turi.image_classifier.create(trainingBuffers, target="foodType", model="squeezenet_v1.1")
你也可以使用 `ResNet-50`,以得到更準確的結果:
model = turi.image_classifier.create(trainingBuffers, target="foodType", model="resnet-50")
evaluations = model.evaluate(testingBuffers)
print evaluations["accuracy"]
model.save("rice_or_soup.model")
model.export_coreml("RiceSoupClassifier.mlmodel")
你的 classifier.py 檔案應該如下圖所示:
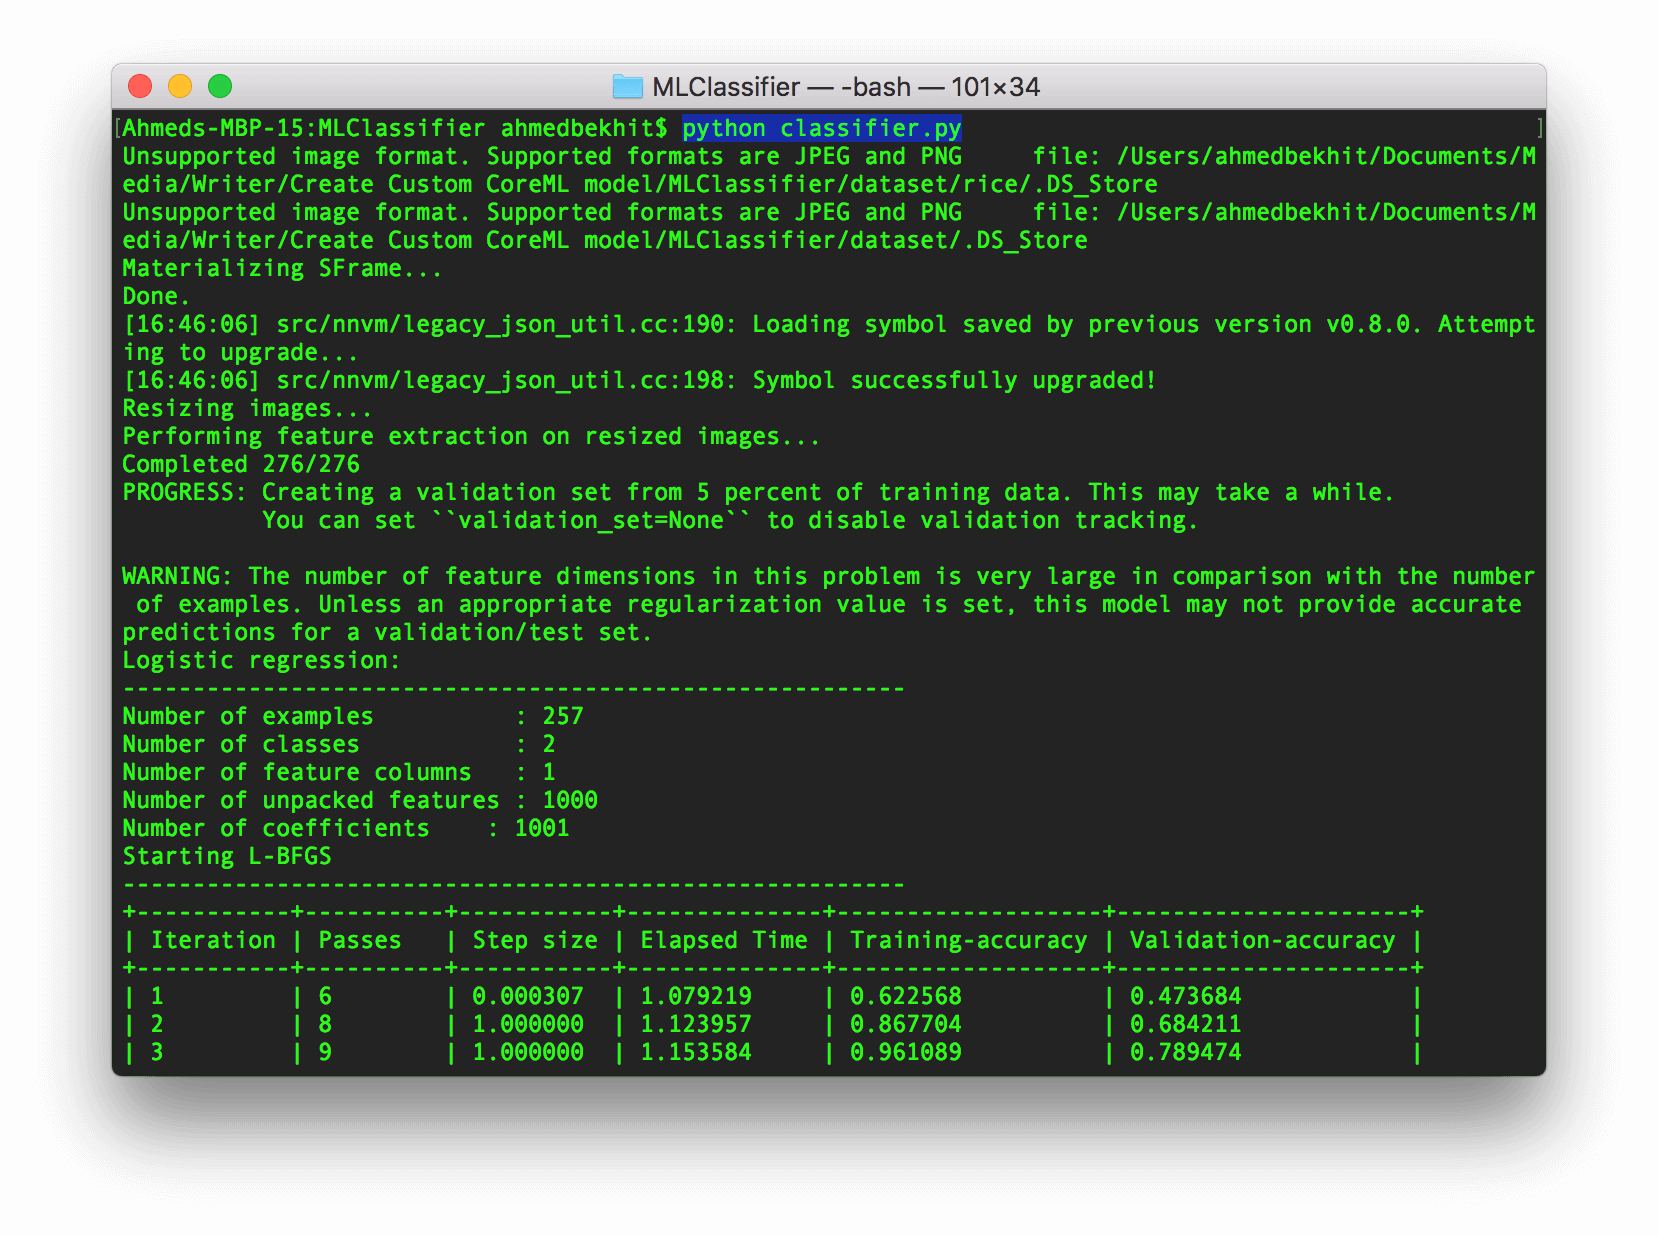
現在是時候來執行我們的程式了!請開啟 Terminal.app,將路徑設到 MLClassifier 資料夾,然後這樣執行 classifier.py 檔案:
python classifier.py
你應該會看到下列訊息,請耐心等候。
幾分鐘後,你的 CoreML 模型就準備好,可以實現在任何 iOS 、 macOS 、 tvOS 、 或 watchOS 的應用程式上了!
整合 Core ML 模型到 iOS App
現在,我們準備要整合剛建立的自訂 CoreML 模型到 iOS App。如果你有讀過我們的 Core ML 入門介紹「初探 Core ML:學習建立一個圖像識別 App」,你應該大概知道如何將 CoreML 模型整合到 iOS App 內,所以這個部份我會精簡說明。
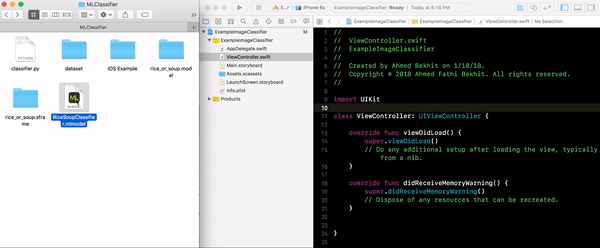
- 首先,建立一個新的 iOS 專案,並使用 Single Application 的模版。你可以自訂一個專案名字,但要確認你是使用 Swift 來做本次範例開發。
- 要應用剛建立的模型,我們要將訓練好的 CoreML 模型 (`RiceSoupClassifier.mlmodel` 檔案) 拖拉到專案中。
- 匯入 `CoreML` 框架到你的專案,然後將下列程式碼加到 `ViewController.swift` 檔案內:
- 建立 `CoreML` 模型物件:
- 建立使用者介面:
- 在 `ViewController` 加入 `UIImagePickerController` 協定:
- 建立一個 `importFromCameraRoll` 方法:
- 在 `viewDidLoad` 方法內,將 `importFromCameraRoll` 方法連接到匯入按鈕,並把按鈕加到 Subview:
- 然後,建立一個 `UIImage` 的 Extension,並加入下列功能將 `UIImage` 物件轉換至 `CVPixelBuffer`:
- 將下列方法加入到 `ViewController`,以分析匯入的圖像,並利用 `UILabel` 來顯示分析結果:
import CoreML
let mlModel = RiceSoupClassifier()
    var importButton:UIButton = {
        let btn = UIButton(type: .system)
        btn.setTitle("Import", for: .normal)
        btn.setTitleColor(.white, for: .normal)
        btn.backgroundColor = .black
        btn.frame = CGRect(x: 0, y: 0, width: 110, height: 60)
        btn.center = CGPoint(x: UIScreen.main.bounds.width/2, y: UIScreen.main.bounds.height*0.90)
        btn.layer.cornerRadius = btn.bounds.height/2
        btn.tag = 0
        return btn
    }()

    var previewImg:UIImageView = {
        let img = UIImageView()
        img.frame = CGRect(x: 0, y: 0, width: 350, height: 350)
        img.contentMode = .scaleAspectFit
        img.center = CGPoint(x: UIScreen.main.bounds.width/2, y: UIScreen.main.bounds.height/3)
        return img
    }()

    var descriptionLbl:UILabel = {
        let lbl = UILabel()
        lbl.text = "No Image Content"
        lbl.frame = CGRect(x: 0, y: 0, width: 350, height: 50)
        lbl.textColor = .black
        lbl.textAlignment = .center
        lbl.center = CGPoint(x: UIScreen.main.bounds.width/2, y: UIScreen.main.bounds.height/1.5)
        return lbl
    }()
class ViewController: UIViewController, UIImagePickerControllerDelegate, UINavigationControllerDelegate
@objc func importFromCameraRoll() {
    if UIImagePickerController.isSourceTypeAvailable(.photoLibrary) {
        let imagePicker = UIImagePickerController()
        imagePicker.delegate = self
        imagePicker.sourceType = .photoLibrary;
        imagePicker.allowsEditing = true
        self.present(imagePicker, animated: true, completion: nil)
    }
}
importButton.addTarget(self, action: #selector(importFromCameraRoll), for: .touchUpInside)
self.view.addSubview(previewImg)
self.view.addSubview(descriptionLbl)
self.view.addSubview(importButton)
extension UIImage {
    func buffer(with size:CGSize) -> CVPixelBuffer? {
        if let image = self.cgImage {
            let frameSize = size
            var pixelBuffer:CVPixelBuffer? = nil
            let status = CVPixelBufferCreate(kCFAllocatorDefault, Int(frameSize.width), Int(frameSize.height), kCVPixelFormatType_32BGRA , nil, &pixelBuffer)
            if status != kCVReturnSuccess {
                return nil
            }
            CVPixelBufferLockBaseAddress(pixelBuffer!, CVPixelBufferLockFlags.init(rawValue: 0))
            let data = CVPixelBufferGetBaseAddress(pixelBuffer!)
            let rgbColorSpace = CGColorSpaceCreateDeviceRGB()
            let bitmapInfo = CGBitmapInfo(rawValue: CGBitmapInfo.byteOrder32Little.rawValue | CGImageAlphaInfo.premultipliedFirst.rawValue)
            let context = CGContext(data: data, width: Int(frameSize.width), height: Int(frameSize.height), bitsPerComponent: 8, bytesPerRow: CVPixelBufferGetBytesPerRow(pixelBuffer!), space: rgbColorSpace, bitmapInfo: bitmapInfo.rawValue)
            context?.draw(image, in: CGRect(x: 0, y: 0, width: image.width, height: image.height))
            CVPixelBufferUnlockBaseAddress(pixelBuffer!, CVPixelBufferLockFlags(rawValue: 0))

            return pixelBuffer
        }else{
            return nil
        }
    }
}
func imagePickerController(_ picker: UIImagePickerController, didFinishPickingMediaWithInfo info: [String : Any]) {
    if let image = info[UIImagePickerControllerOriginalImage] as? UIImage {
        previewImg.image = image
        if let buffer = image.buffer(with: CGSize(width:224, height:224)) {
            guard let prediction = try? mlModel.prediction(image: buffer) else {fatalError("Unexpected runtime error")}
            descriptionLbl.text = prediction.foodType
            print(prediction.foodTypeProbability)
        }else{
            print("failed buffer")
        }
    }
    dismiss(animated:true, completion: nil)
}
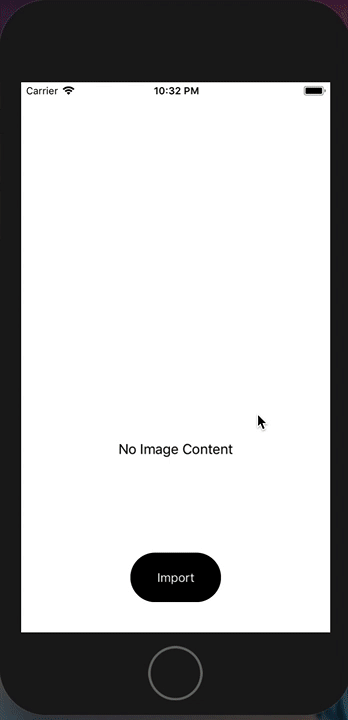
準備測試
好了,都完成了!執行 App,並按下 Import 按鈕來試一下吧。現在,你應該了解如何建立一個自訂機器學習模型,並實作到你的應用程式中了!
你可以在Github下載完整的教學專案。如果你對本篇教學有任何問題或想法,歡迎在下面留言告訴我。
原文:Creating a Custom Core ML Model Using Python and Turi Create